QUERY LEDGER (QL)
QL or Query Ledger is where you can see all details about a particular Ledger. 
You can access the Query ledger by clicking on the QL tab in the top navigation bar.
When you enter QL, the bank is selected by default.
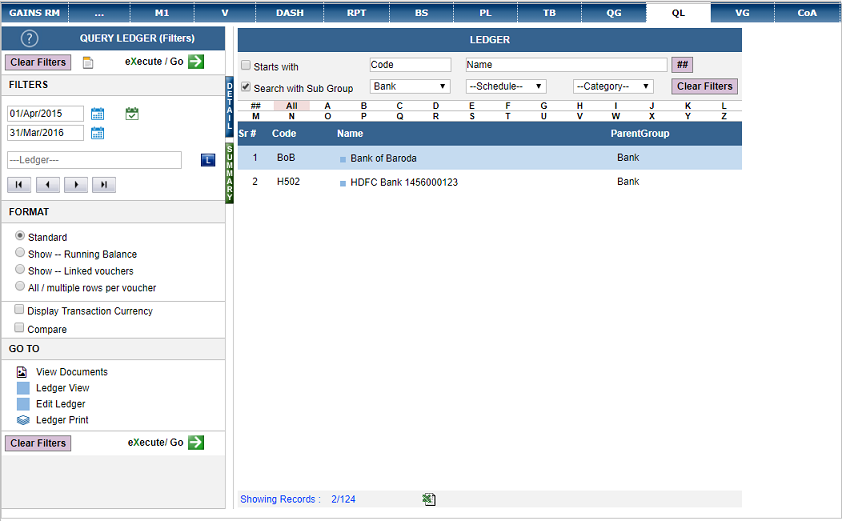
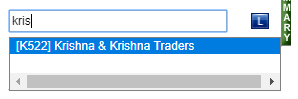
If you wish to view details of another ledger, you can do so using the smart text field. |
|
|
|
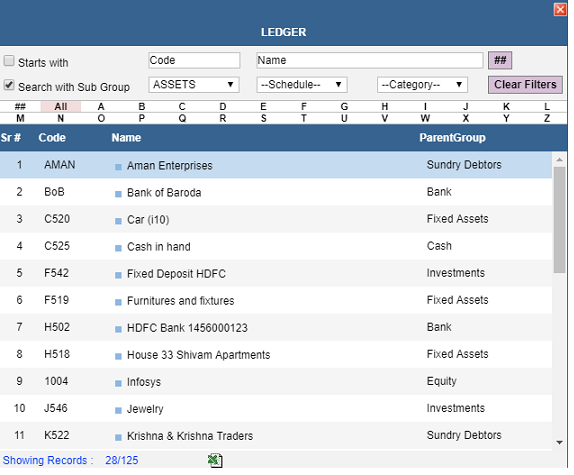
 . A list will appear with search fields.
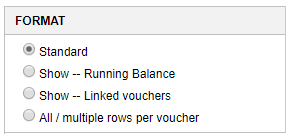
Once the user enters QL, they can choose between a detailed view and a summarized view.
SUMMARY
As the name suggests, this will give a condensed view of a particular ledger. These can be seen in the following views:

By Type – Segregates by Voucher Type
By Ledger – Segregates using the opposite ledger and also displays the transaction details
By Group – Gives a Group-wise listing of all the ledgers and the transactions associated with the selected ledger.
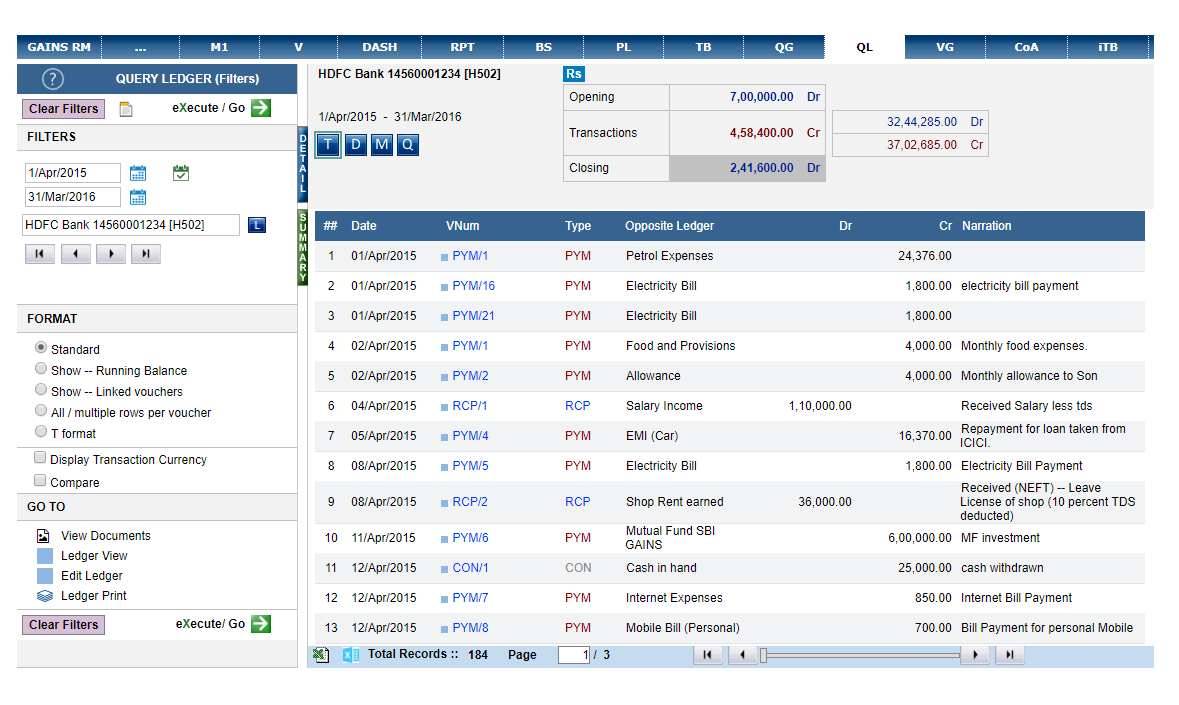
You can also choose to view your Ledgers yearly, monthly, daily or even transaction-wise. To do so, use the TDMY buttons. 
You can toggle between views by double clicking on records. For example, double clicking on the year in Y view will take you to the month view of that particular year.
Further double clicking on a particular month will show you all the records created for that month. This drilldown goes all the way up to transactions where you can click on the voucher ID and view individual vouchers and even update/edit them.
There is a persistent top bar on the RHS that displays the Opening and Closing balance and also the transaction amount.
You choose the date range you wish to work in, after you login in the landing page.
In Query Ledger, suppose you wish to see data for a particular year/month/week, you can do so using the date controls.
You can either type in the date: for example, If you type 6-11-16, the system will automatically take 6th November 2016 as the date. Press TAB, to enter the ‘to date’.
Or, you can use the date control, and choose the desired dates. Please note the dates are recognized in the DD-MM-YY format.
|
 |
 |
|